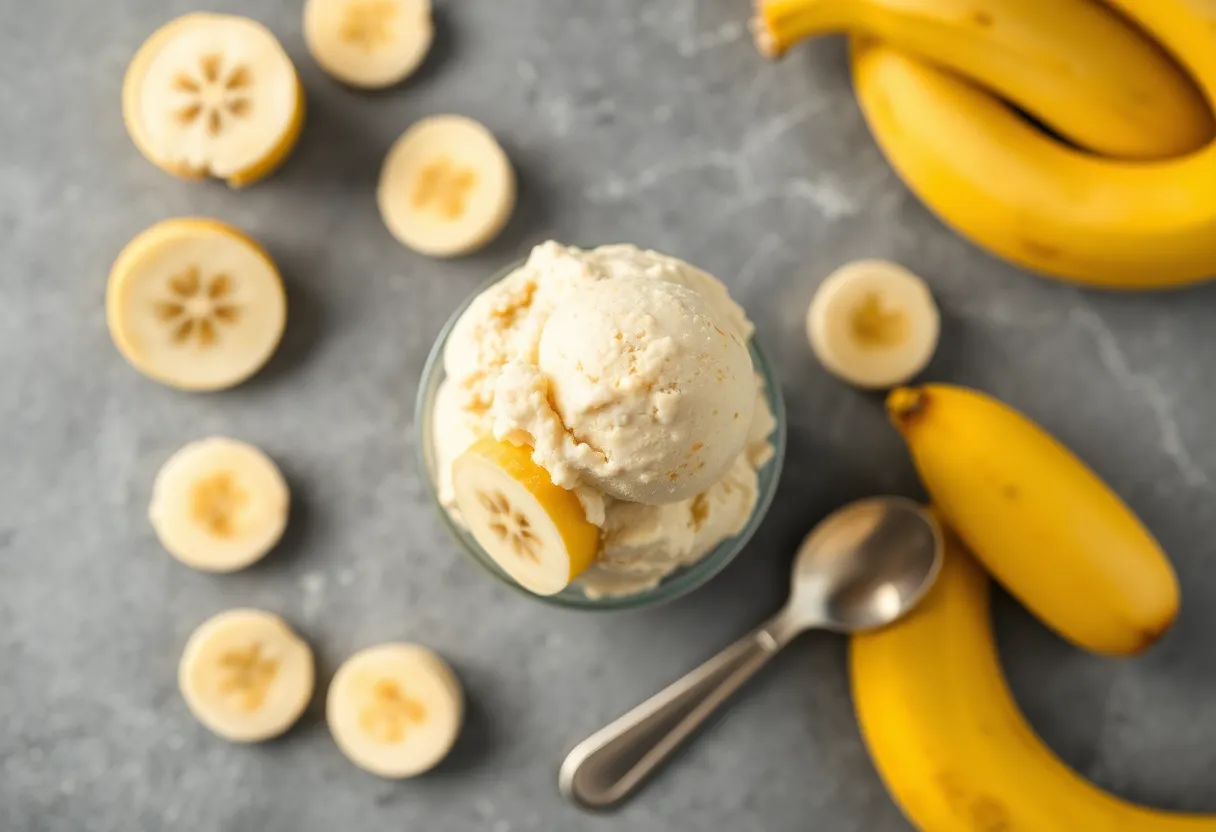
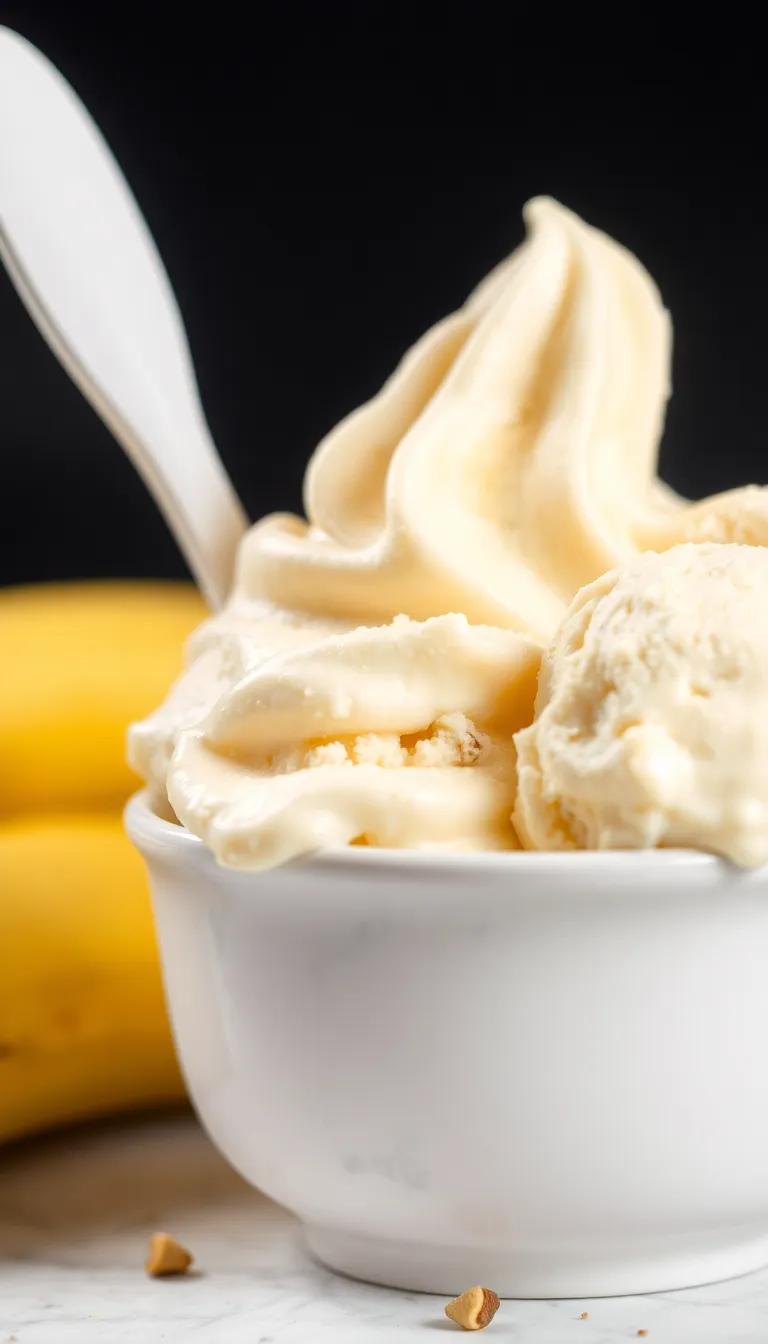
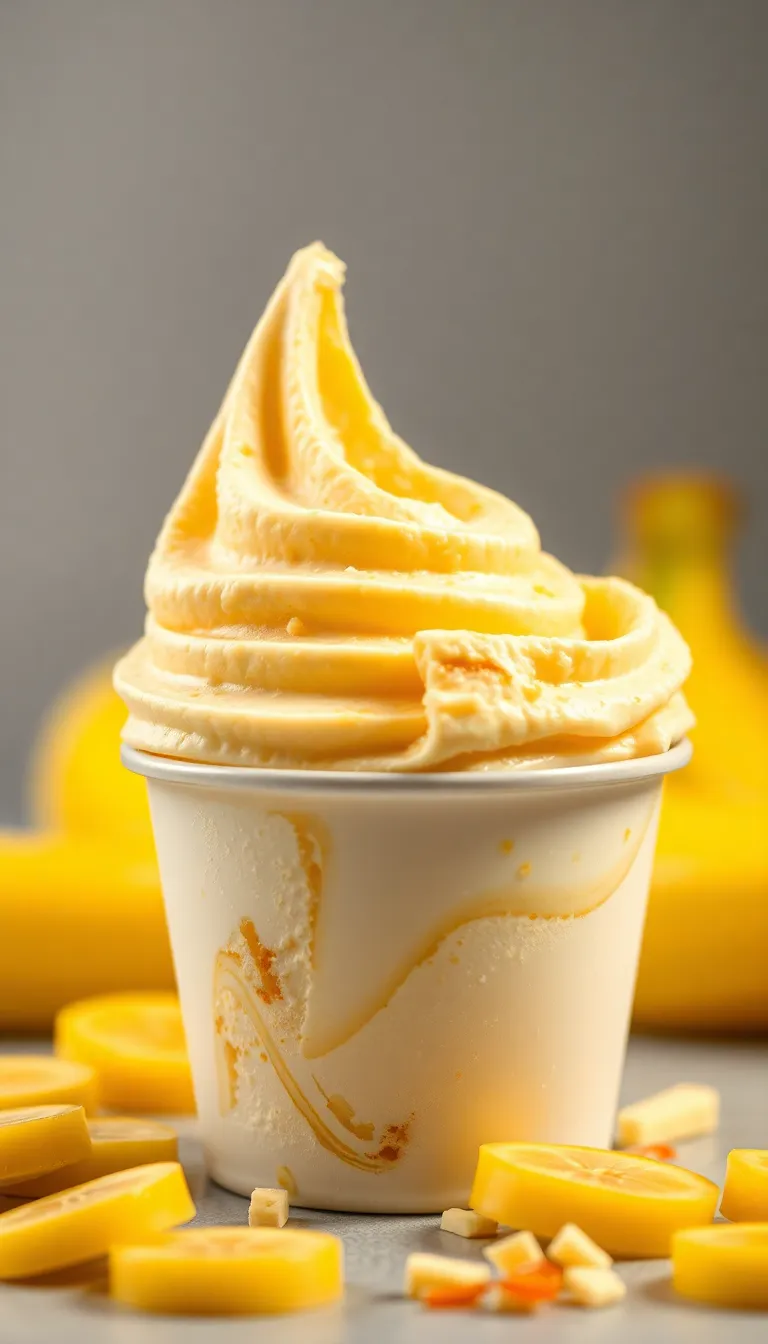
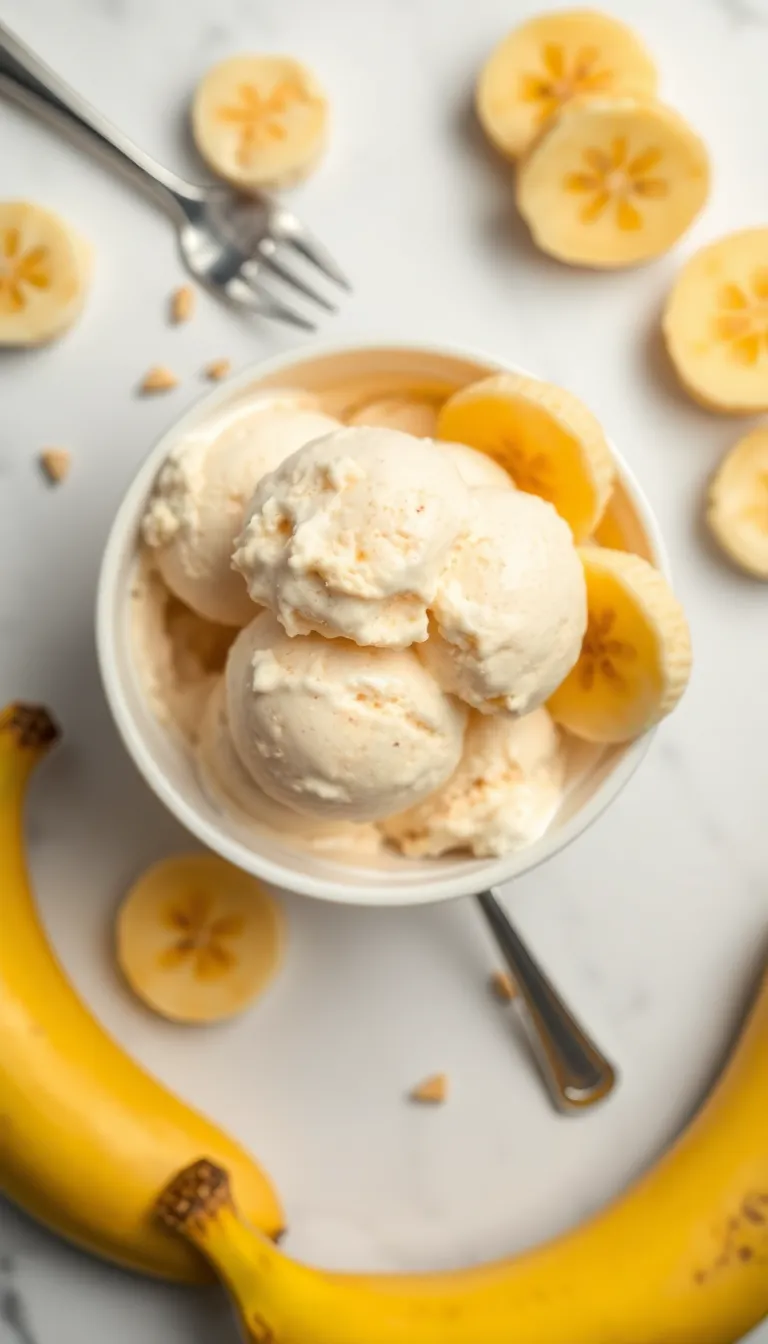
Quick Banana Ice Cream: The Easiest Dessert Hack You’ll Ever Need
You’re two ingredients and five minutes away from creamy, dreamy ice cream—no fancy machine, no weird additives, just pure banana magic. Imagine impressing your friends with dessert skills you didn’t even know you had. What if I told you this isn’t just “healthy” ice cream but also ridiculously delicious?
No, really. Even your sugar-addicted cousin will ask for seconds. Skeptical?
Good. That means you’re smart. Now let’s prove you wrong.
Quick Recomendation: Our blog is full of useful information to inspire you. If you are seeking a healthy and proven way to prepare your meals, we recommend this Keto product
Why This Recipe Slaps
This isn’t just blended fruit pretending to be ice cream.
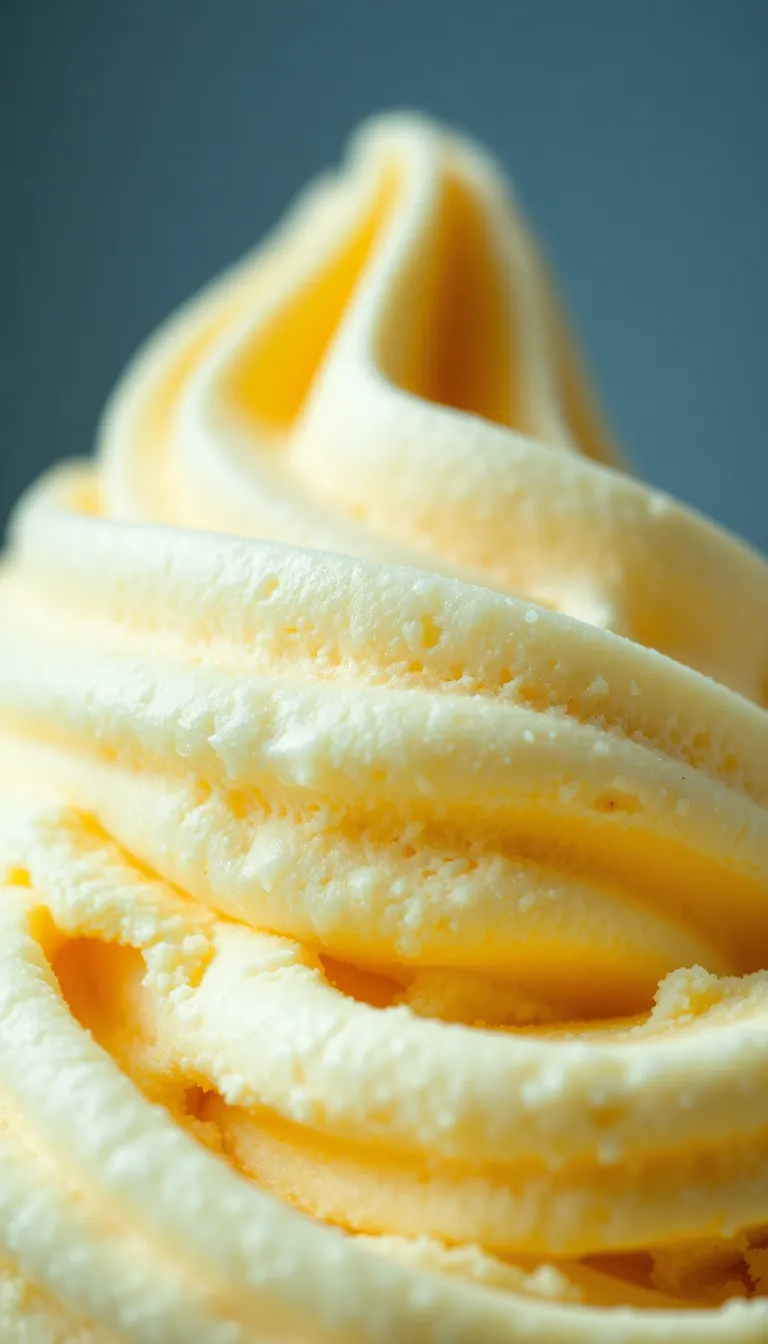
Freezing bananas transforms their texture into something unbelievably creamy, like soft-serve but without the guilt. It’s vegan, gluten-free, and idiot-proof—no cooking, no chilling, just blend and devour. Plus, it’s a blank canvas.
Want chocolate? Add cocoa. Craving peanut butter?
Go nuts (literally). The versatility is almost unfair.
Ingredients You’ll Need
- 4 ripe bananas (spotty ones work best—no one likes a bland banana)
- 1-2 tbsp milk (dairy, almond, oat—whatever floats your boat)
- Optional add-ins: cocoa powder, peanut butter, vanilla extract, or a handful of chocolate chips
How to Make It: Step-by-Step
- Peel and slice the bananas into coins. Pro tip: Do this before freezing unless you enjoy wrestling with rock-hard bananas.
- Freeze the slices for at least 2 hours.
Overnight is better, but we’re all impatient here.
- Toss them in a blender with a splash of milk. Too much liquid? Congrats, you’ve made banana soup.
Start with 1 tbsp.
- Blend until smooth, scraping down the sides as needed. This takes patience—or a high-powered blender.
- Mix in your add-ins (if using) and blend again. Or swirl them in for Insta-worthy streaks.
- Eat immediately for soft-serve vibes, or freeze another 30 minutes for scoopable texture.
If you can wait.
How to Store It (If There’s Any Left)
Press parchment paper against the surface before freezing to prevent ice crystals. It keeps for 2 weeks, but let’s be real—it’ll vanish in 2 days. FYI, re-blending leftovers fixes any texture issues.
Science!
Why This Recipe Is a Game-Changer
It’s cheaper than store-bought pints, healthier than most desserts, and faster than ordering delivery. You get fiber, potassium, and zero weird chemicals. Plus, it’s a sneaky way to use up bananas that’ve gone rogue on your counter.
Waste not, want not.
Common Mistakes to Avoid
- Using unripe bananas: Yellow ≠ sweet. Spotty bananas = flavor town.
- Overloading the blender: Small batches blend better. Patience, grasshopper.
- Skipping the milk: Without it, your blender might stage a revolt.
- Freezing whole bananas: Unless you’re training for a kitchen-themed WWE match, slice them first.
Swaps and Upgrades
No bananas?
Frozen mango or avocado works (trust us). Dairy-free? Any plant milk slays.
For extra decadence, mix in Nutella, cookie crumbs, or espresso powder. Feeling fancy? Top with toasted coconut or crushed nuts.
The world is your oyster—though we don’t recommend actual oysters in this.
FAQs
Can I use a food processor instead of a blender?
Yes, but it might take longer. Blenders are the MVP here, but food processors get the job done with extra scraping.
Why is my ice cream icy?
You either didn’t blend enough or added too much liquid. Re-blend with a splash more milk or a spoon of nut butter to rescue it.
Can I make this sugar-free?
Bananas are naturally sweet, but if you’re cutting sugar, skip add-ins like chocolate chips.
Or embrace the chaos and use sugar-free syrup.
How do I make it protein-packed?
Add a scoop of vanilla or chocolate protein powder. IMO, it tastes like a milkshake with benefits.
Final Thoughts
This isn’t just a recipe—it’s a life hack. It’s dessert that doesn’t wreck your goals, a party trick disguised as cooking, and proof that bananas are the universe’s most underrated fruit.
So next time you’re eyeing that $7 pint of “healthy” ice cream, laugh, grab a banana, and blend your way to glory.
Quick Recomendation: Our blog is full of useful information to inspire you. If you are seeking a healthy and proven way to prepare your meals, we recommend this Keto product