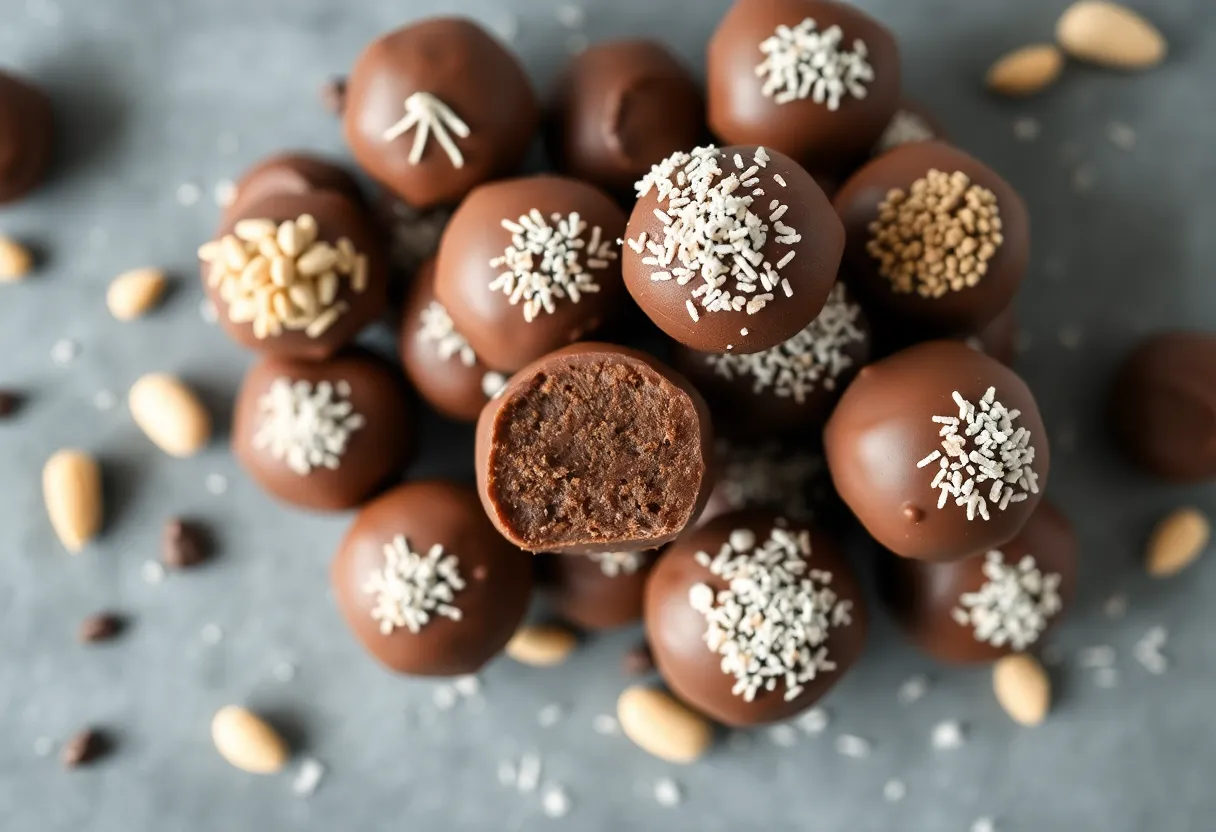
Homemade Chocolate Truffles: The Easiest Way to Impress Anyone (Including Yourself)
Imagine biting into a rich, velvety chocolate truffle that melts in your mouth. Now imagine making it in your kitchen with barely any effort. No fancy equipment, no culinary degree—just you, a few ingredients, and 20 minutes.
These homemade truffles taste like they cost $5 each, but they’re cheaper than a coffee. Why buy overpriced chocolates when you can make something better? Let’s get to it.
Quick Recomendation: Our blog is full of useful information to inspire you. If you are seeking a healthy and proven way to prepare your meals, we recommend this Keto product
Why This Recipe Works
Most truffle recipes either demand precision or taste like disappointment.
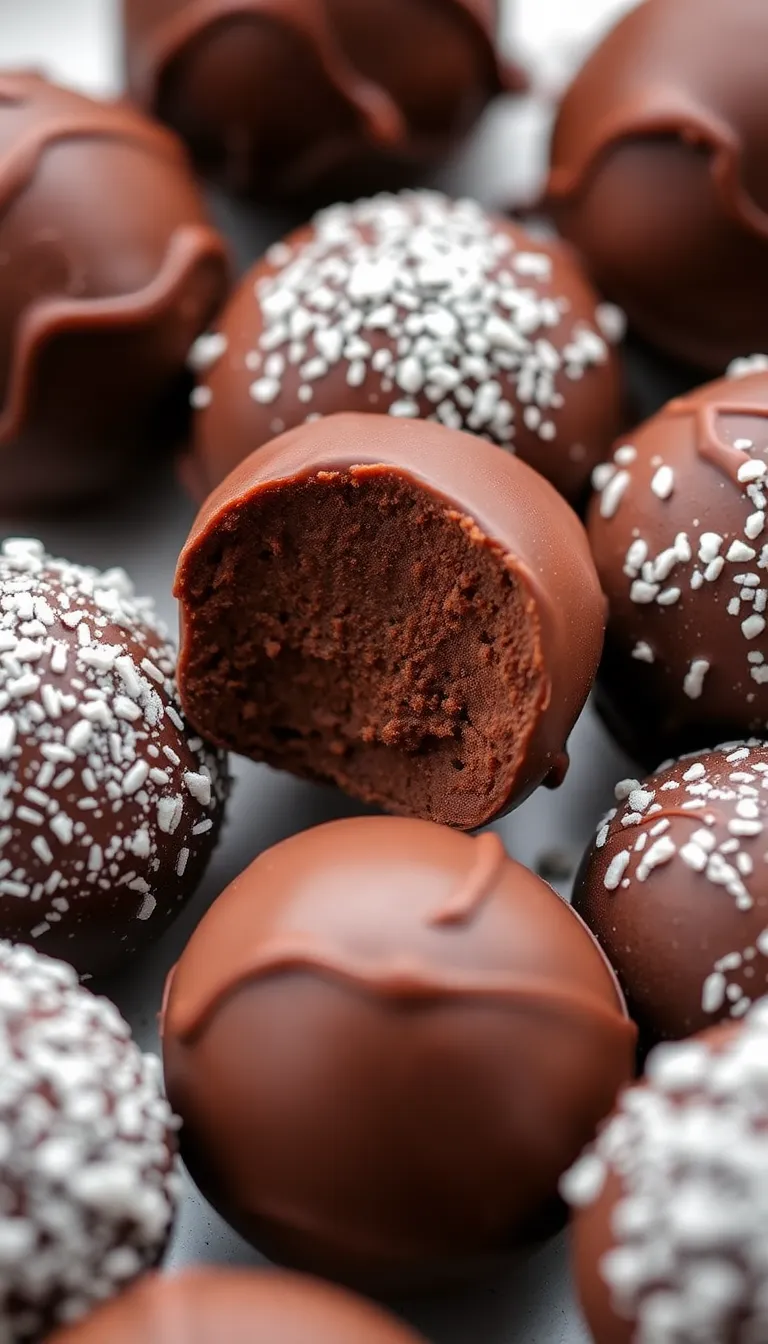
This one? Foolproof. The secret? Heavy cream and chocolate do all the work. No tempering, no fuss—just heat, mix, and roll.
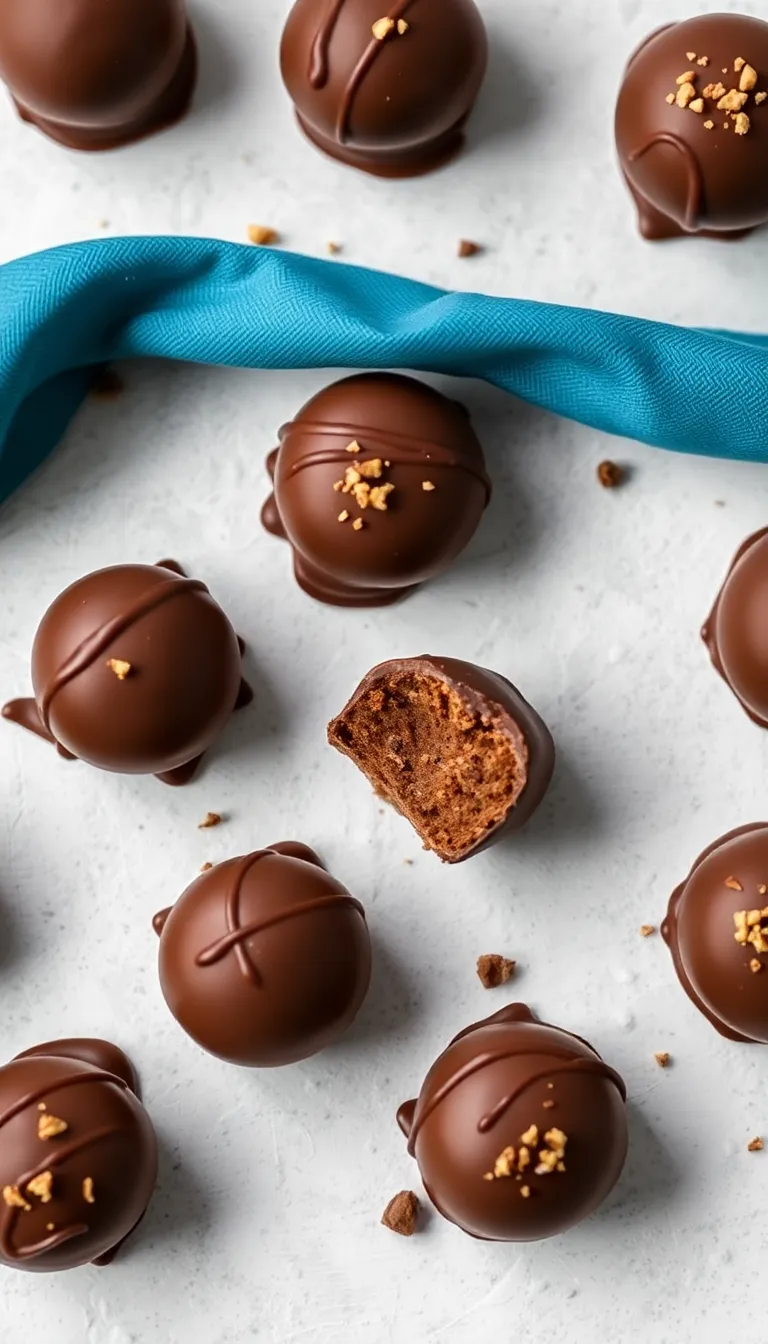
The result is a luxuriously smooth ganache center with a customizable coating. Plus, you can flavor them a dozen ways (more on that later).
Ingredients You’ll Need
- 8 oz high-quality dark chocolate (70% cocoa or higher—no candy bars, please)
- 1/2 cup heavy cream (the fattier, the better)
- 1 tbsp unsalted butter (optional, for extra silkiness)
- 1 tsp vanilla extract (or booze like Grand Marnier, if you’re fancy)
- Pinch of salt (trust me, it’s not optional)
- Cocoa powder, crushed nuts, or coconut flakes for rolling
Step-by-Step Instructions
- Chop the chocolate into tiny pieces. Smaller than your patience after a long day.
- Heat the cream in a saucepan until it simmers.
Don’t boil it—we’re making truffles, not scrambled cream.
- Pour the hot cream over the chocolate and let it sit for 2 minutes. Walk away. Resist stirring.
- Stir gently until smooth.
Add butter, vanilla, and salt. Congrats, you just made ganache.
- Refrigerate for 2 hours or until firm. (Pro tip: Freeze for 30 minutes if you’re impatient.)
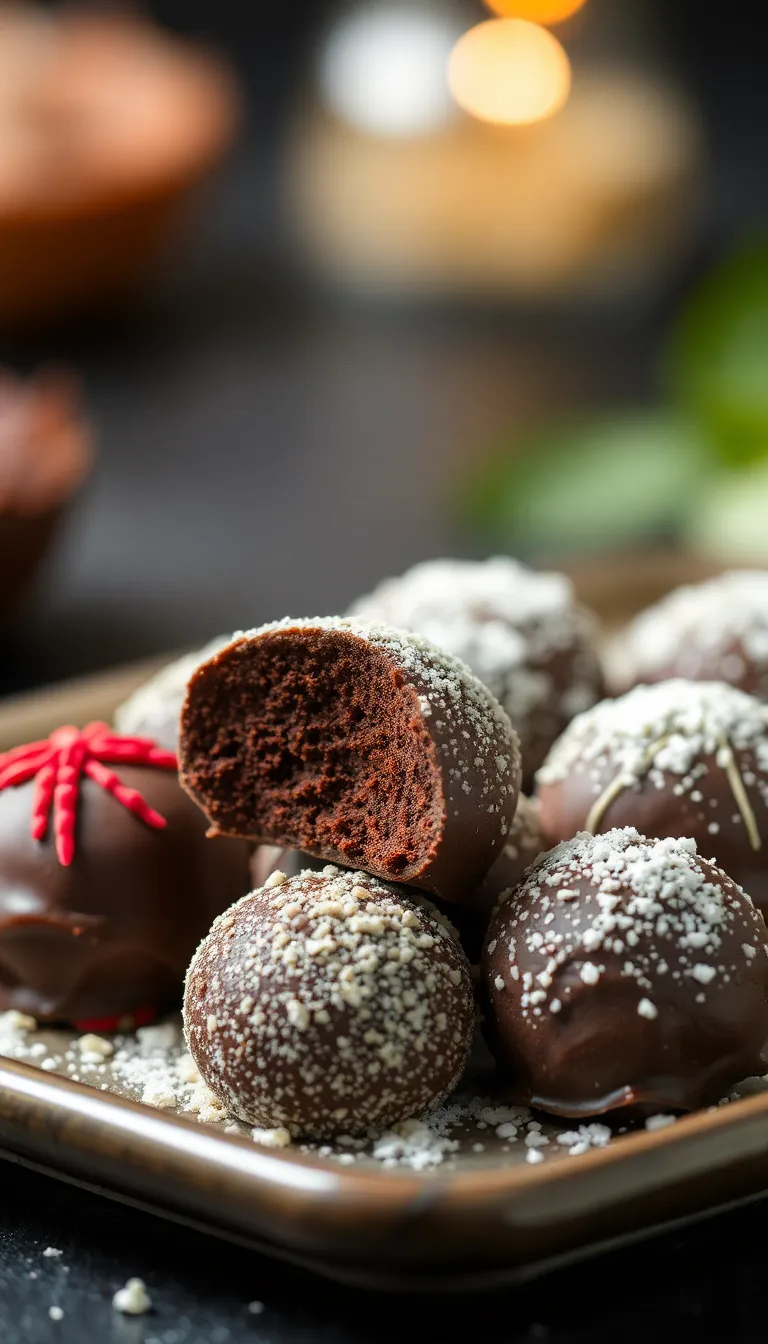
- Scoop and roll into balls. Coat with cocoa powder, nuts, or whatever you’ve got.
Messy hands = authentic chef vibes.
How to Store Them (If They Last That Long)
Keep truffles in an airtight container in the fridge for up to 2 weeks. For longer storage, freeze them (they’ll stay good for 3 months). Let them thaw at room temperature for 10 minutes before serving—unless you enjoy biting into chocolate rocks.
Why These Truffles Are a Game-Changer
They’re cheaper, tastier, and more impressive than store-bought.
You control the ingredients (no mystery preservatives). They make killer gifts—wrap them in a box, and suddenly you’re a gourmet genius. Plus, they’re endlessly customizable (see below).
Common Mistakes to Avoid
- Using low-quality chocolate. Garbage in, garbage out.
Splurge on the good stuff.
- Overheating the cream. Boiling = grainy texture. Aim for a gentle simmer.
- Rolling truffles with warm hands. Cold ganache + warm hands = sticky disaster. Chill your hands first.
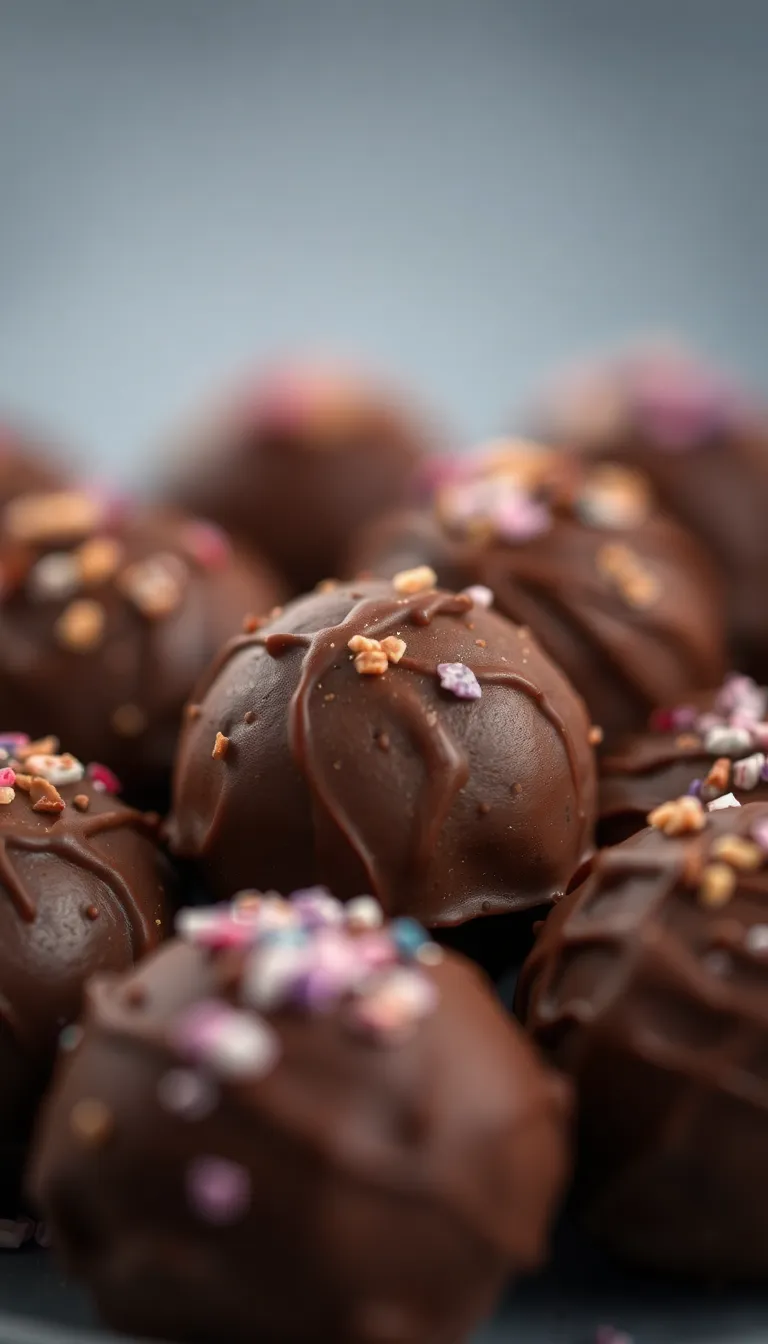
Flavor & Coating Alternatives
Bored of basic?
Try these twists:
- Flavored ganache: Add espresso powder, orange zest, or chili flakes to the mix.
- Coating options: Crushed pretzels, matcha powder, or even gold leaf (if you’re extra).
- Vegan version: Swap cream for coconut cream and use dairy-free chocolate.
FAQs
Can I use milk chocolate instead of dark?
Sure, but the truffles will be sweeter and softer. Adjust the cream ratio (use slightly less) to keep the texture firm.
Why did my ganache split?
You probably added cold cream to hot chocolate or stirred too aggressively. Fix it by whisking in a splash of warm cream.
How do I make truffles perfectly round?
Use a melon baller or wear gloves.
Or embrace the rustic look—imperfections taste the same.
Can I skip the rolling step?
Yes, but then they’re just “chocolate blobs.” Still delicious, though.
Final Thoughts
Homemade truffles are the ultimate kitchen flex. They take minimal effort, cost pennies, and make you look like a pastry pro. Whether you’re gifting them or hoarding them, this recipe is a winner.
Now go melt some chocolate—your future self will thank you.
Quick Recomendation: Our blog is full of useful information to inspire you. If you are seeking a healthy and proven way to prepare your meals, we recommend this Keto product
Printable Recipe Card
Want just the essential recipe details without scrolling through the article? Get our printable recipe card with just the ingredients and instructions.